
Table of Contents
This step-by-step guide covers everything needed to install a tennis net correctly between the posts, from preparing the post and threading the cable to tensioning and securing the centre strap for match-ready height. For a broader overview of compatible components, choosing tennis court net accessories is a useful starting point before installation work begins.
Install a tennis net between each post
A regulation tennis court net requires precise assembly at every stage. Methodical preparation makes the difference: correct post spacing, a flat net layout, a properly threaded cable, and a tensioned centre strap. Getting each step right protects the winder mechanism and ensures the net meets ITF standards from the first rally.
Prepare the post and tennis net
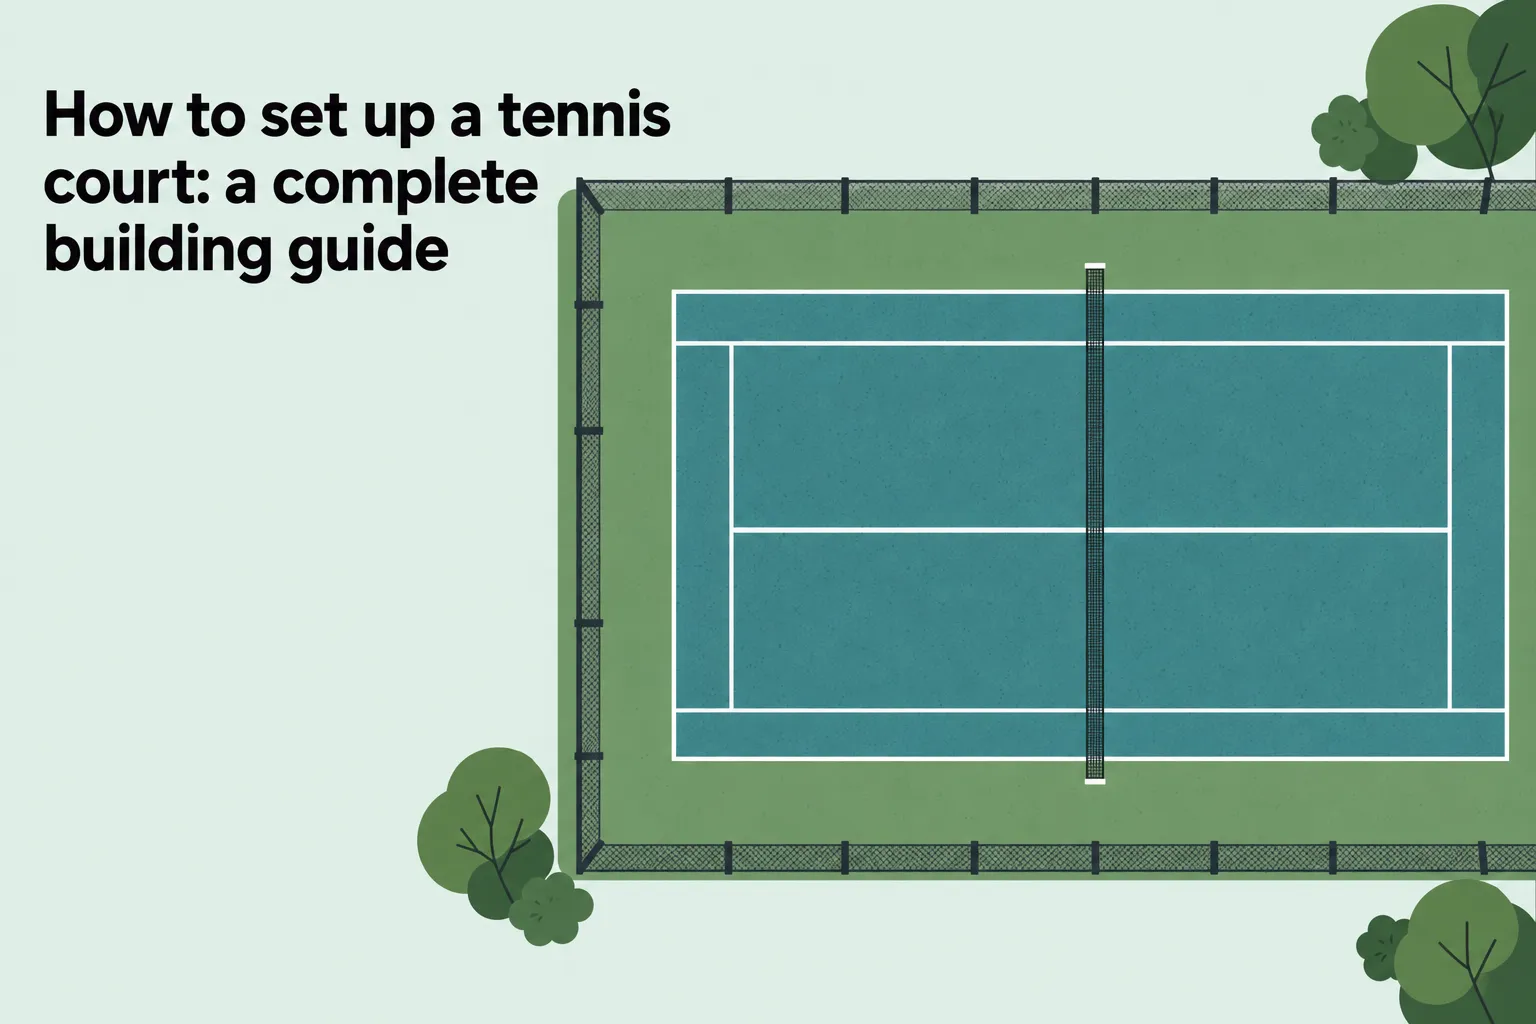
Before attempting to put up a tennis court net, inspect each tennis net post carefully for cracks, corrosion, and damage to the winding spindle. Confirm that both posts are upright and firmly anchored. Fully unwind the winder mechanism and apply grease to the winder before hanging a new net. Post centres must sit exactly 0.914 m outside each doubles sideline, with posts spaced 12.8 m apart centre-to-centre.
- Post check Inspect both posts for wear or structural damage; replace any post showing significant deterioration before proceeding with the net assembly.
- Winder preparation Fully unwind the winder mechanism and grease it to ensure smooth cable winding throughout the tensioning process.
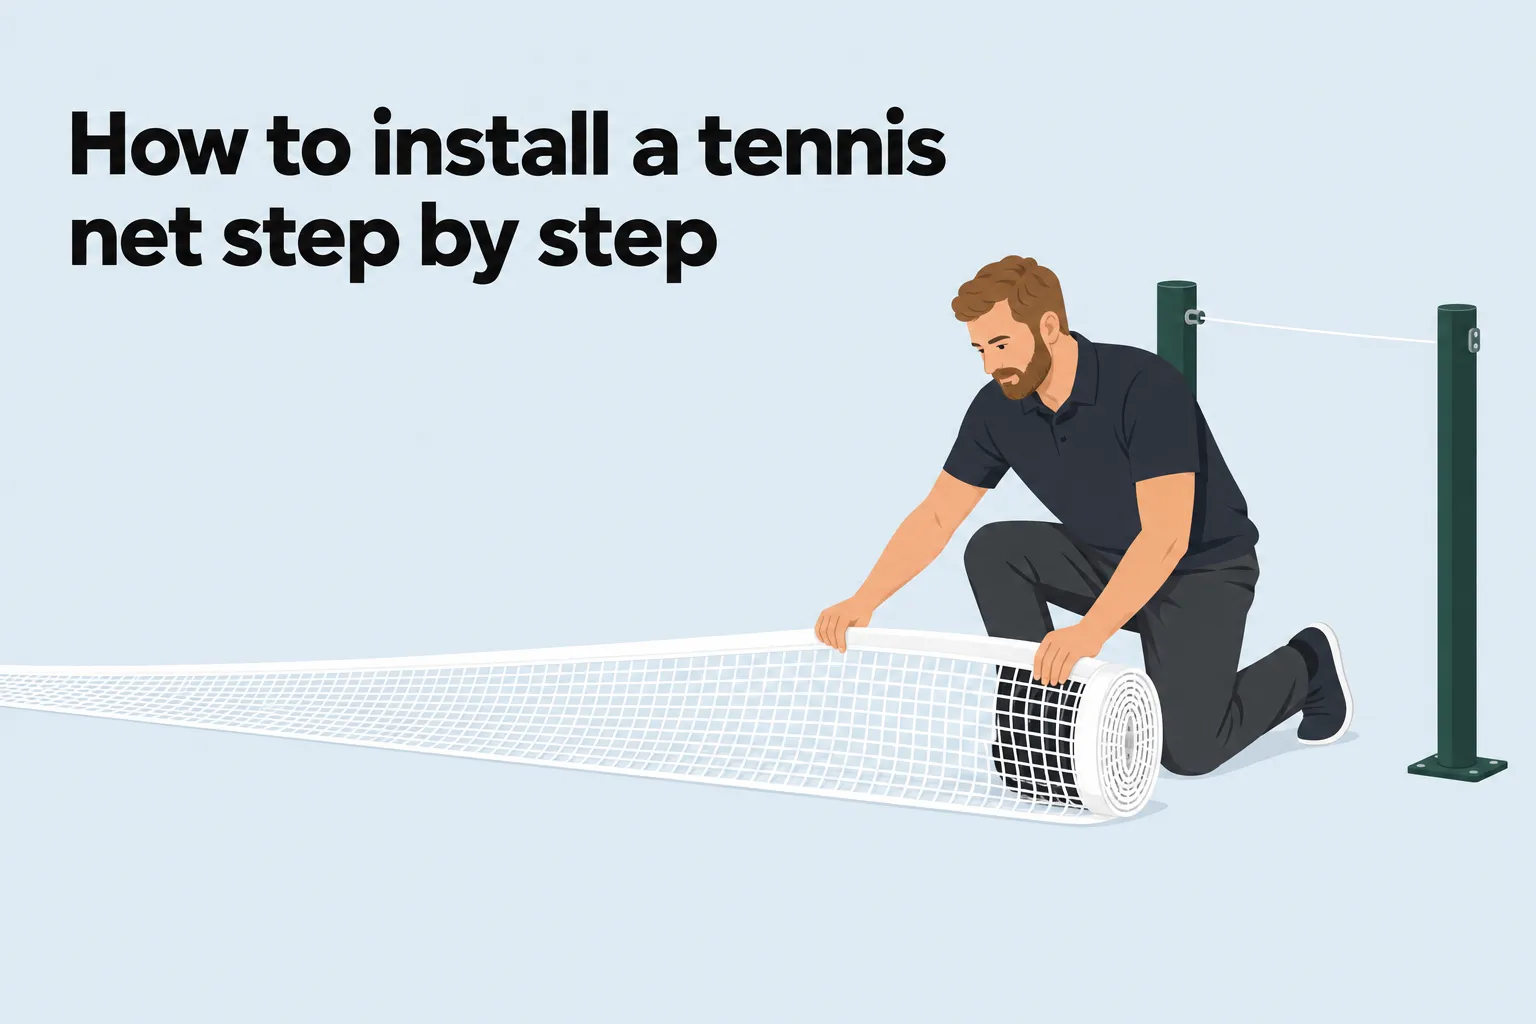
- Net layout Unroll the net flat across the full court width between the posts; remove all twists so the net lies evenly on the surface.
- Orientation check Confirm the headline wire loop sits at the dead-end post and the ferruled pin end sits at the wind post, as reversing these makes correct tensioning impossible.
Even brand-new nets should be checked for manufacturing defects, tears, frayed edges, or loose stitching before installation begins. Dowels or side stakes can be slipped into the side pockets at this stage if the net design includes them.
Attach the headline cable
The cable attachment sequence depends on whether the posts use an internal or external winding assembly. The same principle applies across both formats: the dead-end post receives the loop, while the winder post receives the ferruled pin. For anyone setting up a volleyball net on a tennis court, cable attachment follows an identical sequence, though net height and post spacing differ according to the sport’s own regulations.
- Dead-end post Loop the headline wire around the retaining hook and drape it over the top notch or brass wheel; connect the cable loop to the post cable hook or cleat.
- Winder post Thread the ferruled end of the wire over the brass wheel and down through the post until it emerges at the winder mechanism; insert the ferruled pin into the approximately 5 mm hole in the winding spindle.
- Winding type For an internal-wind post, remove only the loop entering the winder without stripping the cable coating; for an external-wind post, hook the cable loop onto the crank-assembly pin and use the winder handle to begin tensioning.
Once the wire is correctly seated at both ends, turn the winder handle steadily. Wind until the net sits approximately 36 to 37 inches above the court surface at the centre, slightly above the final regulation height, before moving on to centre strap installation, which will pull the net down to the correct 91.4 cm mark.
Secure the tennis net sides
With the cable tensioned and the net hanging at the correct height, the sides must be fixed to each post to keep the net vertical and taut. Thread the net retaining bars down through alternating side-mesh openings on each post. The sides of the net should remain as vertical and parallel to the posts as possible throughout this stage.
Lacing follows immediately. Make a knotted 2-inch loop at one end of the lacing cord, then run the cord through the headband grommets and around or through the post lacing hardware, applying equal tension on each pass. Tie off the lacing cord at the bottom of the post and trim any surplus twine. The laced net should sit comfortably but firmly, with a small and even gap between the net edge and each post.
Install the centre strap
The white centre strap anchors to the court surface at the midpoint of the net, pulling the headline wire down to create the deliberate dip required by ITF rules. This dip is a required feature of a correctly installed tennis net, not an assembly fault. The strap must be no wider than 5 cm for match play compliance; attach it to the ground anchor and adjust until the net measures exactly 0.914 m (36 inches) at the centre. Use an aluminium net height guide to verify this measurement before play begins. Tennis Scorer recommends checking this height daily, as even slight sag alters shot trajectories and can affect referee calls during competitive play.
Frequently asked questions
How do I know how to set up a tennis net at the correct height?
The net must measure 1.07 m (3 ft 6 in) at each post and exactly 0.914 m (3 ft) at the centre. Wind the cable until the centre sits at roughly 37 to 38 inches, then fit the white centre strap and adjust it down to the regulation 36 inches. Use an aluminium net height gauge to confirm both measurements before competitive play. The post height is controlled by the winder mechanism, while the centre height is set independently by the centre strap; both must be verified separately.
What is the difference between an internal-wind and an external-wind post?
An internal-wind assembly houses the winding mechanism inside the tennis net post, protecting it from weather exposure. An external-wind assembly sits outside the post and is more exposed to the elements, making regular inspection important. With an internal winder, remove only the cable loop that enters the mechanism; do not strip the cable coating. With an external winder, hook the cable loop onto the crank-assembly pin and tension it from outside. Both types allow the post winder to be replaced independently, without removing the complete post assembly from its socket.
How often should the centre strap and ground anchor be replaced?
Centre straps and anchors should be replaced together whenever either component shows visible wear, fraying, or loss of tension. Mismatched components create uneven tension along the base of the net, which affects the centre height and shot dynamics. A worn strap that allows the centre to rise even slightly changes serve trajectories and can produce contested referee calls. Daily checks using a net height gauge are the most reliable way to catch deterioration early, before it affects the outcome of a match or causes unnecessary strain on the winder mechanism. Inspect the tennis net post, the wind post and the tennis net post assembly for secure fit before play.